Overview of Proxmox VE
Proxmox VE is an open-source server management platform for your enterprise virtualization. It tightly integrates KVM hypervisor and LXC, software-defined storage, and networking functionality on a single platform. With the integrated web-based user interface you can easily manage VMs and containers, highly available clusters, or the integrated disaster recovery tools with ease.
Enterprise-class features and a 100% software-based focus make Proxmox VE the perfect choice to virtualize your IT infrastructure, optimize existing resources and increase efficiencies with minimal expense. You can easily virtualize even the most demanding Linux and Windows application workloads, and dynamically scale computing and storage as your needs grow ensuring that your data center adjusts for future growth.
Features
Proxmox VE is a powerful open-source server virtualization platform to manage two virtualization technologies – KVM (Kernel-based Virtual Machine) for virtual machines and LXC for containers – with a single web-based interface. It also integrates out-of-the-box-tools for configuring high availability between servers, software-defined storage, networking, and disaster recovery.
- Server virtualization with support for KVM and LXC: Proxmox VE is based on Debian GNU/Linux and uses a customized Linux Kernel. The Proxmox VE source code is free, released under the GNU Affero General Public License, v3 (GNU AGPL, v3). This means that you are free to use the software, inspect the source code at any time or contribute to the project yourself. Using open-source software guarantees full access to all functionalities at any time as well as a high level of reliability and security. We encourage everybody to contribute to the Proxmox VE project while Proxmox, the company behind it, ensures that the product meets consistent and enterprise-class quality criteria.
- Kernel-based Virtual Machine (KVM): KVM is the industry-leading Linux virtualization technology for full-virtualization. It’s a kernel module merged into the mainline Linux kernel and it runs with near native performance on all x86 hardware with virtualization support—either Intel VT-x or AMD-V. With KVM you can run both, Windows and Linux, in virtual machines (VMs) where each VM has private virtualized hardware: a network card, disk, graphics adapter, etc. Running several applications in VMs on a single hardware, enables you to save power and reduce cost while at the same time gives you the flexibility to build an agile and scalable software-defined data center that meets your business demands. Proxmox VE includes KVM support since the beginning of the project back in 2008 (that is since version 0.9beta2).
- Container-based Virtualization: Create and manage lightweight containers with LXC. Container-based virtualization technology is a lightweight alternative to full machine virtualization because it offers lower overhead.
- Linux Containers (LXC): LXC is an operating-system-level-virtualization environment for running multiple, isolated Linux systems on a single Linux control host. LXC works as an userspace interface for the Linux kernel containment features. Users can easily create and manage system or application containers with a powerful API and simple tools.
- Live/Online Migration: With the integrated live/online migration feature, you can move running virtual machines from one Proxmox VE cluster node to another without any downtime or noticeable effect from the end-user side. Administrators can initiate this process either scripted or with the web interface, making it a simple process. It allows you to easily take a VM offline for maintenance or upgrades.
Tutorial Download & Instalasi Proxmox VE di Platform perangkat IDNetWALL
- Download Promox Virtual Environment disini. Contoh instalasi menggunakan versi 6.3.
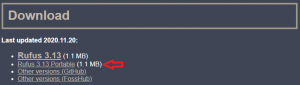
- Download aplikasi Rufus untuk create bootable USB versi portable disini.
- Create bootable Ubuntu Desktop ke flashdisk menggunakan aplikasi Rufus dengan langkah-langkah berikut:
- Verifikasi Intel (VMX) Virtualization Technology telah di-Enabled.
- Pastikan perangkat dalam keadaan Power-Off.
- Koneksikan perangkat ke Monitor.
- Koneksikan perangkat dengan USB Keyboard.
- Power-On perangkat. Saat awal perangkat Power-On, tekan tombol “DEL” secara berulang-ulang untuk masuk ke BIOS.
- Jika sudah masuk ke BIOS, maka Anda perlu memastikan BIOS mode di Menu “Advanced > CPU Configuration > Intel (VMX) Virtualization Technology “. Pilih [Enable].


- Save Changes and Exit.

- Koneksikan bootable Flashdisk Software Proxmox VE ke port USB perangkat.
- Power-On perangkat. Saat Awal booting perangkat, tekan “F11” untuk masuk ke opsi Boot BIOS. Kemudian pilih “FlashDisk-Name”
- Install Proxmox VE.
-
- End User License Agreement (EULA) > I Agree.
- Target Harddisk > /dev/sda/ (119GB, MG BGM3M8 SSD) > Next.
- Location and Time Zone Selection > Fill Form > Next.
- Administration Password and Email Address > Fill Form > Next.
- Management Network Configuration > Fill Form > Next.
- Summary > Automatically reboot after successful installation > Install.
- Installation Process.


- Saat proses instalasi Promox selesai, maka system otomatis reboot. Maka remove flashdisk.
- GNU GRUB > Proxmox Virtual Environment GNU/Linux (Auto running).
- CLI / Shell Console. Login menggunakan username: root dan password yang telah dibuat saat proses instalasi.
- Web Console Management Proxmox VE https://ip-address:8006/.
- Error Self-sign certificate

- Login menggunakan username: root dan password yang telah dibuat saat proses instalasi.

- Untuk menghilangkan notifikasi “No valid subsciption” silahkan ikuti link tutorial disini.

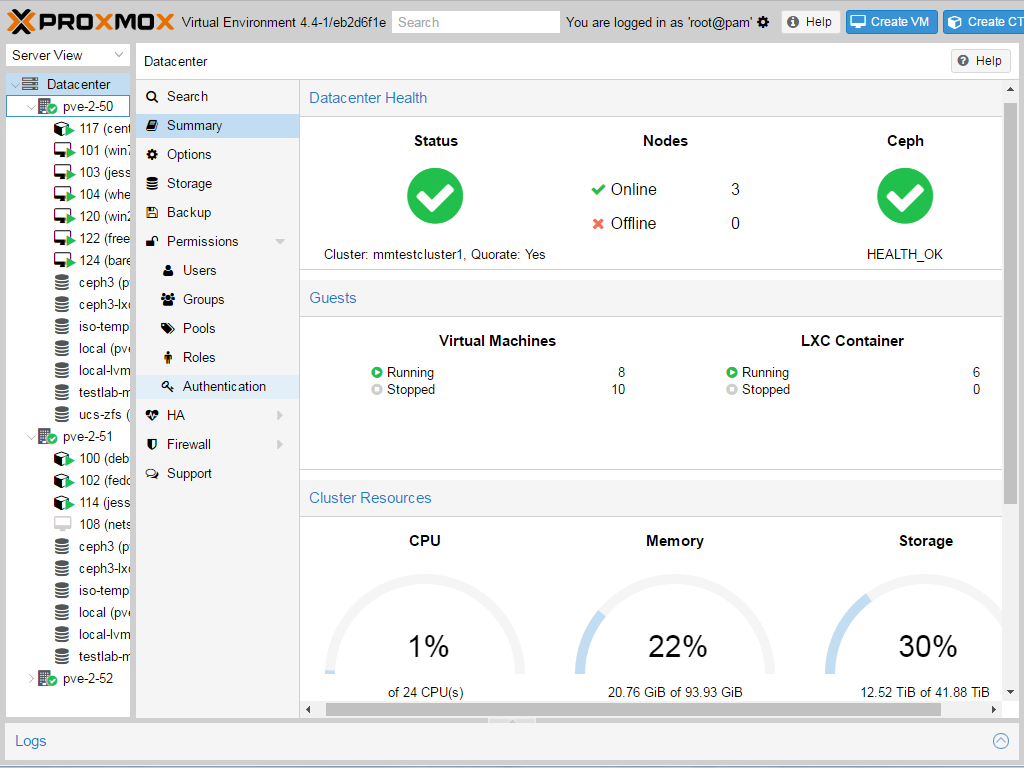
- PVE Summary. Pada tahap ini proses instalasi Software Proxmox VE telah berhasil